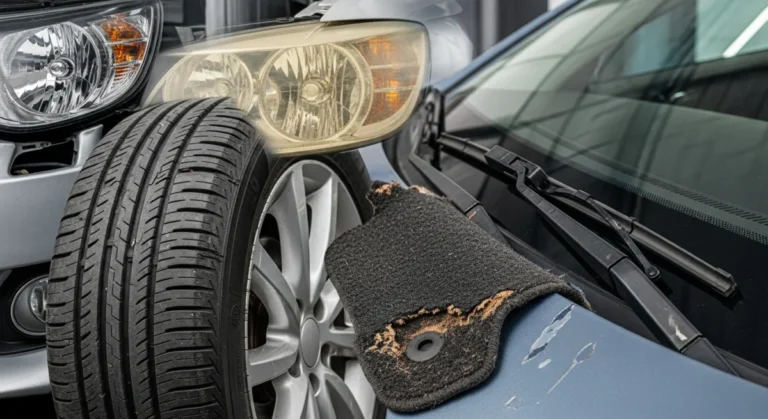
There is a sound every automotive enthusiast and conscientious vehicle owner dreads. It isn’t a grinding gear or a squealing belt; it is the chaotic, metallic ping-ping-ping of gravel, road salt, and debris ricocheting off your vehicle’s rocker panels and fender wells.
According to automotive industry data, Americans spend billions annually repairing rust and corrosion damage—much of which begins with microscopic chips in the paint caused by road debris. Once the clear coat is compromised, moisture and salt infiltrate the metal, starting a chemical reaction that eats your investment from the inside out.
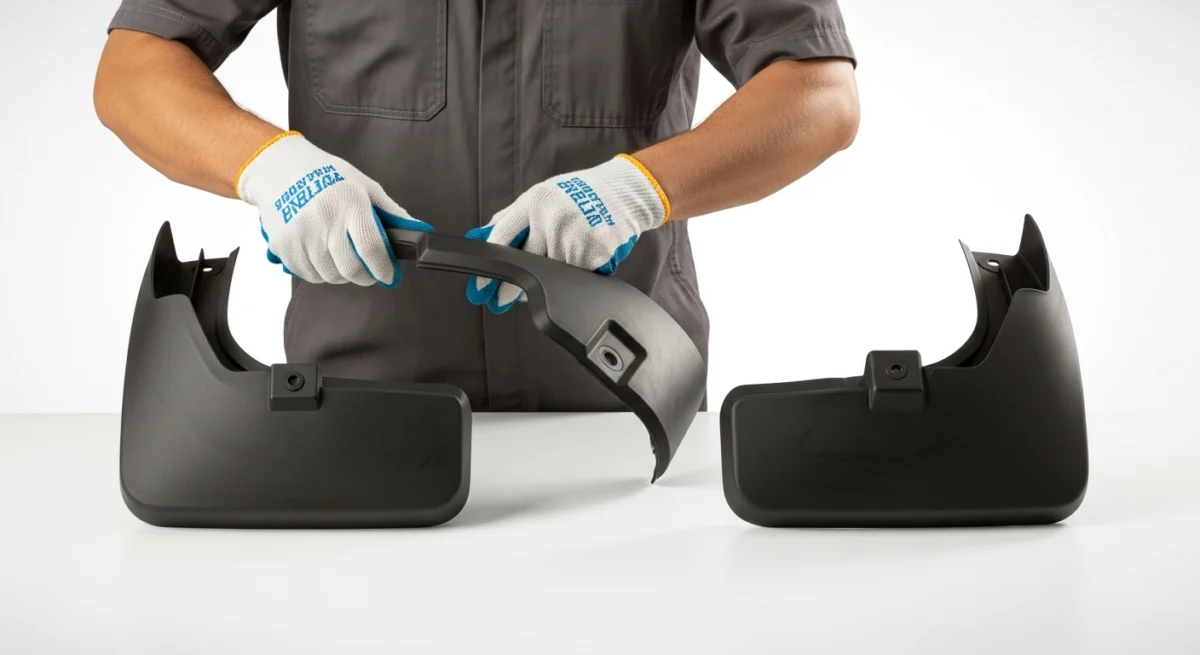
While ceramic coatings and paint protection films (PPF) grab the headlines, the unsung hero of vehicle preservation is far humbler yet mechanically vital: weatherproof mud flaps. These aren’t just rectangles of rubber; they are engineered shields designed to withstand extreme temperatures, chemical exposure, and physical impact.
In this guide, we are diving deep into the engineering, benefits, and selection of high-performance splash guards. Whether you are driving a lifted 4×4 or a daily commuter, understanding the dynamics of weatherproof mud flaps is the first step in fortifying your ride.
What Are Weatherproof Mud Flaps? (It’s Not Just Rubber)
To the untrained eye, a mud flap is a mud flap. However, in the automotive aftermarket, there is a distinct difference between a generic “splash guard” and a true weatherproof mud flap.
Standard OEM (Original Equipment Manufacturer) flaps are often made of rigid ABS plastic. While they look integrated, they suffer from a fatal flaw: they are brittle. In freezing temperatures, a rigid plastic flap hitting a chunk of ice can crack or shatter. Conversely, in extreme heat, cheap rubber compounds can warp or become overly pliable, flapping uselessly in the wind.
Weatherproof mud flaps are characterized by advanced material science. They utilize compounds like thermoplastic polyurethane (TPU) or blends of heavy-duty polymers that remain chemically stable regardless of the environment.
The Physics of Debris Deflection
When your tires rotate, they act as centrifugal pumps, flinging water, mud, rocks, and chemical brines backward and upward. Without intervention, this debris stream—often called the “rooster tail”—impacts the bodywork behind the wheel well and the vehicle following you.
A high-quality weatherproof flap interrupts this trajectory. It absorbs the kinetic energy of the projectile (the rock) and directs fluids downward back to the road surface. The best flaps are designed with a specific durometer (hardness rating) that allows them to flex upon impact to prevent breaking, yet remain rigid enough to stop heavy debris from passing through.
Key Benefits of Upgrading to Weatherproof Guards
Why should you swap out your factory guards or drill into your wheel wells for an aftermarket set? The benefits extend far beyond keeping your truck looking clean.
Ultimate Paint and Corrosion Protection
The area behind your wheels (the rocker panels and rear bumper) is the “kill zone” for paint. Road salt, specifically liquid calcium chloride used for de-icing, is highly corrosive. If a rock chips your paint in January, and salt spray hits that bare metal, rust will set in before spring. Weatherproof mud flaps provide a physical barrier that drastically reduces the volume of abrasive material hitting your paint.
All-Climate Durability
True weatherproof flaps are engineered for thermal stability.
- Extreme Cold: They remain flexible down to -40°F. Where standard plastic snaps, these polymer blends bend. This is critical for off-roaders who might drag a flap over a rock in freezing conditions.
- Extreme Heat: They resist warping and melting, even when situated near hot exhaust tips or driving on scorching tarmac.
Safety and Visibility
Have you ever driven behind a semi-truck in a rainstorm? The mist completely blinds you. While passenger cars don’t create a cloud that size, SUVs and trucks do generate significant spray. By installing wide, long splash guards, you reduce the spray radius, improving visibility for drivers behind you. This is defensive driving through hardware.
Resale Value Retention
Used car buyers are savvy. They look at the undercarriage and the lower panels. A vehicle free of rock chips and “road rash” signals a careful owner. Investing $100–$200 in high-end flaps can save you thousands in deduction value when it’s time to trade in.
Anatomy of a Premium Mud Flap: What to Look For

Not all flaps are created equal. When shopping for weatherproof mud flaps, you need to evaluate them based on three specific criteria: Material, Fitment, and Hardware.
1. Material Composition
This is the single most important factor.
- Polyurethane: The gold standard for rally cars and off-road trucks. It is incredibly durable, resistant to oils/gasoline, and virtually untearable. It is flexible but returns to its shape instantly.
- Thermoplastic Olefin (TPO): Often found in “molded” flaps that look like factory parts. These are excellent for street trucks and SUVs as they are impact-resistant and look sleek, though less flexible than polyurethane.
- Heavy-Duty Rubber: The old-school choice. Heavy and effective, but can degrade over time due to UV exposure if not treated.
2. Fitment: Custom vs. Universal
- Custom Fit (CNC Laser Cut): These are designed specifically for your Year, Make, and Model. They account for the curves of your fender flare and the location of factory screws. Recommendation: Always choose custom fit if available. It ensures a seamless seal against the bodywork.
- Universal Fit: These are flat rectangles you must measure, level, and screw in yourself. They are great for vintage cars or heavily modified rigs where stock mounting points no longer exist.
3. The Mounting Hardware
A mud flap is only as good as the screws holding it on. Look for kits that include stainless steel hardware. Standard zinc-coated screws will rust within a year in snowy climates, eventually causing the flap to fall off or, worse, spreading rust to the fender itself.
- Look for powder-coated brackets.
- Ensure the kit includes incidental hardware like spacers and washers.
Installation Guide: The Professional Approach
Installing weatherproof mud flaps is generally a DIY-friendly task, but doing it correctly requires attention to detail. A crooked mud flap looks terrible and functions poorly.
Tools You Will Need
- Ratchet set (usually 7mm to 10mm sockets)
- Offset screwdriver (stubby) for tight wheel wells
- Isopropyl alcohol and microfiber towels
- A small level
- Optional: Drill (if using universal flaps)
Step-by-Step Installation Tips
*Step 1: The Clean Up*
Never install flaps over a dirty surface. Dirt trapped between the flap and the paint acts like sandpaper. Wash the wheel well area thoroughly. Wipe the mounting surface with isopropyl alcohol to remove wax and grease.
*Step 2: Dry Fitting*
Before removing any screws, hold the flap up to the wheel well. Check the coverage. Does it stick out past the tire tread? (It should, slightly, for maximum protection).
*Step 3: The “No-Drill” Method*
Most premium custom-fit options utilize factory holes. You will remove the plastic push-pins or hex screws holding your wheel well liner in place.
- Pro Tip: If the factory plastic inserts are stripped, replace them with fresh hardware provided in your kit.
*Step 4: Mounting and Leveling*
Loosely attach the flap. Do not tighten the screws yet. This is where amateurs make mistakes. Step back from the vehicle. Look at the flap in relation to the tire and the ground.
- Use a small bubble level on the bottom edge of the flap.
- Ensure the flap is perpendicular to the ground, not following the inward curve of the bumper.
*Step 5: The Final Torque*
Once leveled, tighten the hardware. Do not overtighten, as you can crack the plastic fender liner or strip the threads. If your kit came with Paint Protection Film (PPF) strips, apply these to the fender paint before final mounting to prevent the flap from rubbing against the clear coat.
Maintenance: Keeping them Weatherproof

While these products are designed to take a beating, they are not maintenance-free. To ensure they last the life of the vehicle:
- Check the Hardware: Vibration is the enemy. Every oil change (or every 5,000 miles), give the mud flap screws a quick check to ensure they haven’t backed out.
- Chemical Care: If you have polyurethane flaps, they are generally chemically resistant. However, if you have rubber or TPO flaps, avoid harsh solvent-based tire shines, which can dry out the material and lead to premature cracking. Use water-based dressings.
- Winter Care: In heavy snow, “slushbergs” can build up behind the flap. Kick them off gently. Do not use a metal shovel or scraper, which can gouge the flap surface.
Top Buying Factors Checklist
Before you click “Add to Cart,” run your choice through this checklist: 1. Kickback: Does the flap have enough length to stop debris from a spinning tire? 2. Offset: Does the flap stick out enough to cover wide aftermarket tires? 3. Flexibility: Will it survive a curb scrape at -10°F? 4. No-Drill: Does it require drilling into metal? (Avoid drilling metal if possible to prevent rust). 5. Warranty: Does the manufacturer offer a lifetime warranty against breaking? (Top brands like Rally Armor, Gatorback, and WeatherTech often do).
Frequently Asked Questions (FAQ)
1. Do weatherproof mud flaps affect my fuel economy (MPG)?
Technically, yes, but the effect is negligible for most drivers. Mud flaps increase aerodynamic drag slightly by catching air behind the wheel well. However, unless you are driving a hyper-miling Prius at 90mph, the difference is likely unnoticeable. The money saved on paint repair vastly outweighs the pennies lost in fuel.
2. Can I install mud flaps if I have oversized off-road tires?
This depends on your “clearance.” If your tires already rub against the fender liner when you turn the steering wheel fully, adding a mud flap will worsen the issue. You may need “offset” flaps or brackets that push the flap further back to accommodate the aggressive stance of all-terrain tires.
3. Which is better: Rigid Molded Flaps or Flexible Flat Flaps?
It depends on the application.
- Molded (Rigid): Best for stock SUVs and trucks that stay on the pavement. They look like factory parts and are very aerodynamic.
- Flat (Flexible): Best for off-roaders, lowered cars, and rally styles. They can bend if they hit a rock or speed bump without breaking.
4. Are mud flaps required by law?
In many jurisdictions, yes—especially for trucks and SUVs. Most state DOT (Department of Transportation) laws require that the fender or mud flap covers the full width of the tire tread and extends down to the center of the axle. If you have a lifted truck, you are legally required to extend your flaps to match the lift height to prevent blinding drivers behind you.
5. My mud flaps look faded. How do I restore them?
For polyurethane flaps, simple soap and water usually work best, as the material doesn’t oxidize easily. For rubber or plastic flaps that have turned gray from UV exposure, use a high-quality ceramic plastic restorer or a water-based vinyl dressing. Avoid silicone-heavy products that attract dust.
Conclusion
Your vehicle is likely the second most expensive purchase you will make in your life. It exists in a hostile environment of asphalt, gravel, salt, and precipitation. Weatherproof mud flaps are not merely an aesthetic accessory; they are a fundamental component of vehicle preservation.
By choosing high-quality, temperature-resistant materials and ensuring a proper installation, you seal off the most vulnerable parts of your vehicle’s exterior. Whether you are navigating a snowy mountain pass or simply commuting on a gravel-strewn highway, these shields provide the peace of mind that your paint—and your resale value—remains intact.
Don’t wait for the first rust bubble to appear. Equip your rig with the protection it deserves today.